How to connect to a Windows server over Remote Desktop
Windows virtual dedicated servers are managed over Remote Desktop (RDP).
In a hurry? The interactive
connection guide walks you through it for Windows, macOS, Android and
iPhone, and can generate a ready-made .rdp file.
Within roughly 20 minutes of your order being paid, the virtual server is installed and you receive an email with the access details. The same details are available in the billing panel: go to “Virtual Servers”, select the server and click “Message”.
Windows 10 and Windows 11
- Press Windows + R, type
mstscand press Enter. The same app is in the Start menu as “Remote Desktop Connection”. - In the “Computer” field, enter the IP address of your virtual server from the access email.
- Expand “Show Options” and enter the username from the same email in the “User name” field. Ticking “Allow me to save credentials” saves you retyping the password each time.
- Click “Connect” and enter the password.
Windows 8 / 8.1
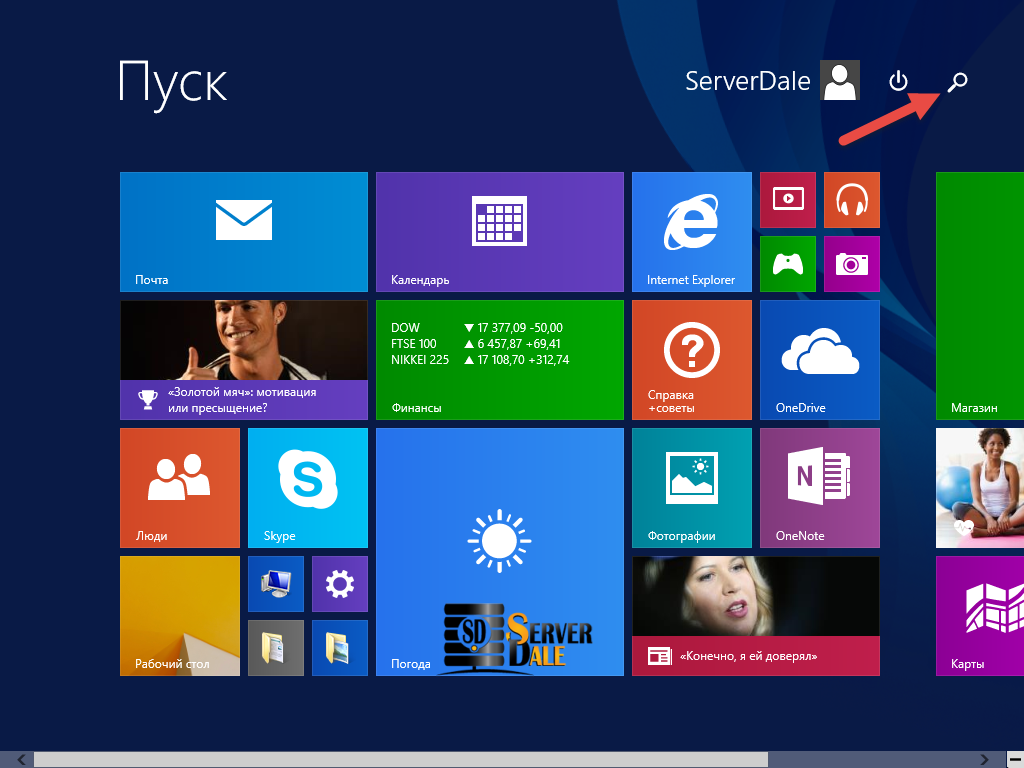
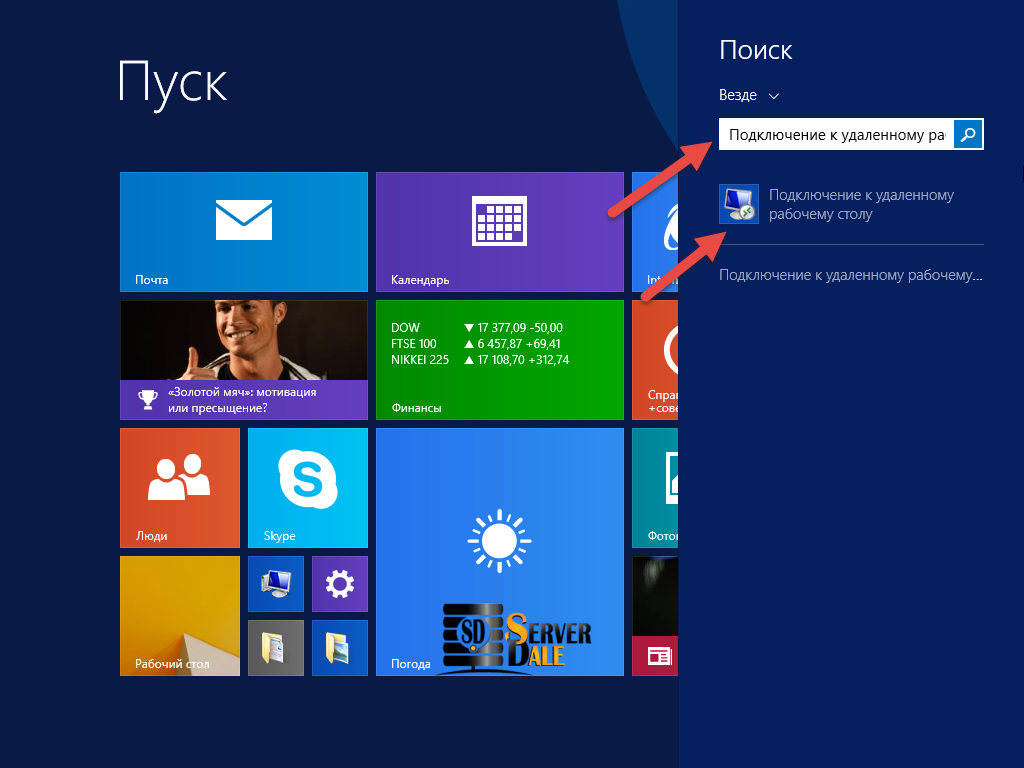
Move the cursor to the top-right corner of the screen, choose “Search”, type
mstsc and open “Remote Desktop Connection”.
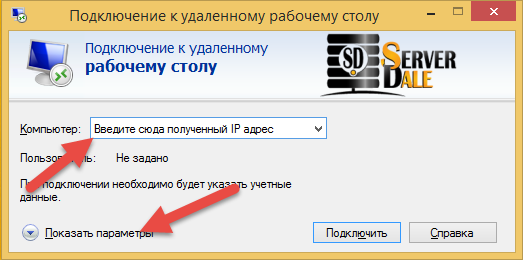
In the window that appears, enter the IP address of the virtual server.
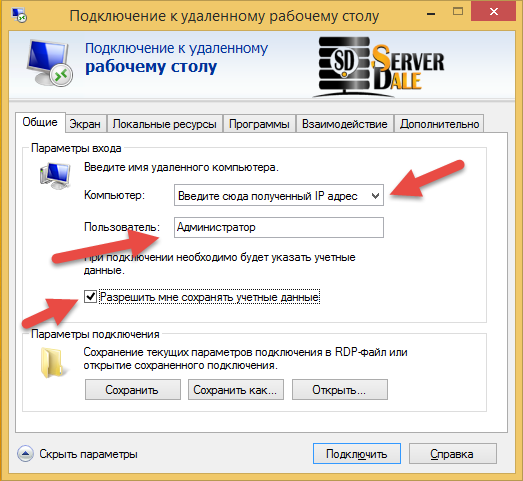
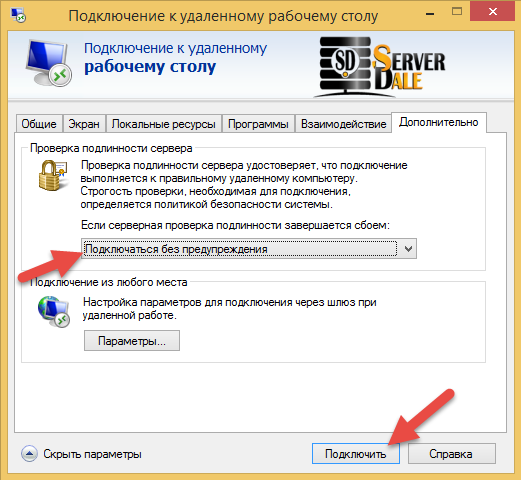
Click “Show Options” to enable saving your credentials. In the “User name” field enter the username from the access email.
Open the “Advanced” tab and under “Server authentication” choose “Connect and don't warn me”, then click “Connect”.
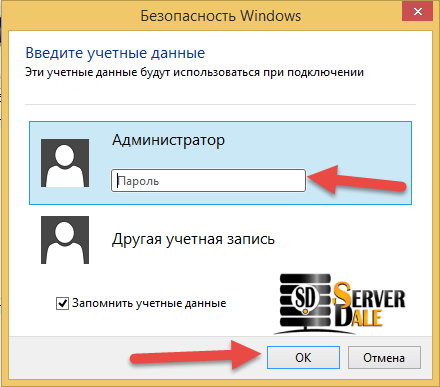
Enter the username and password you received and click “OK”.
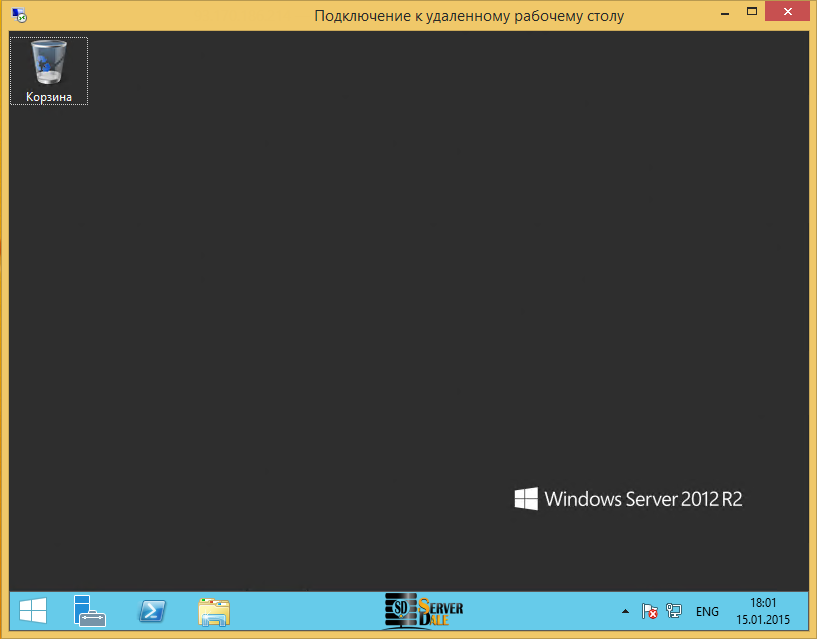
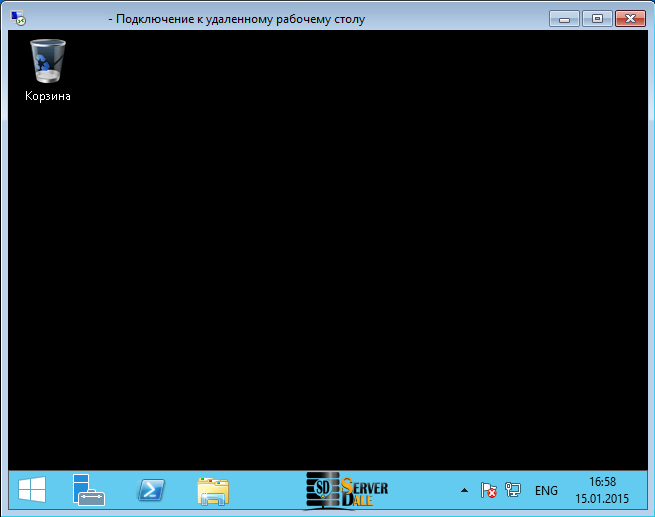
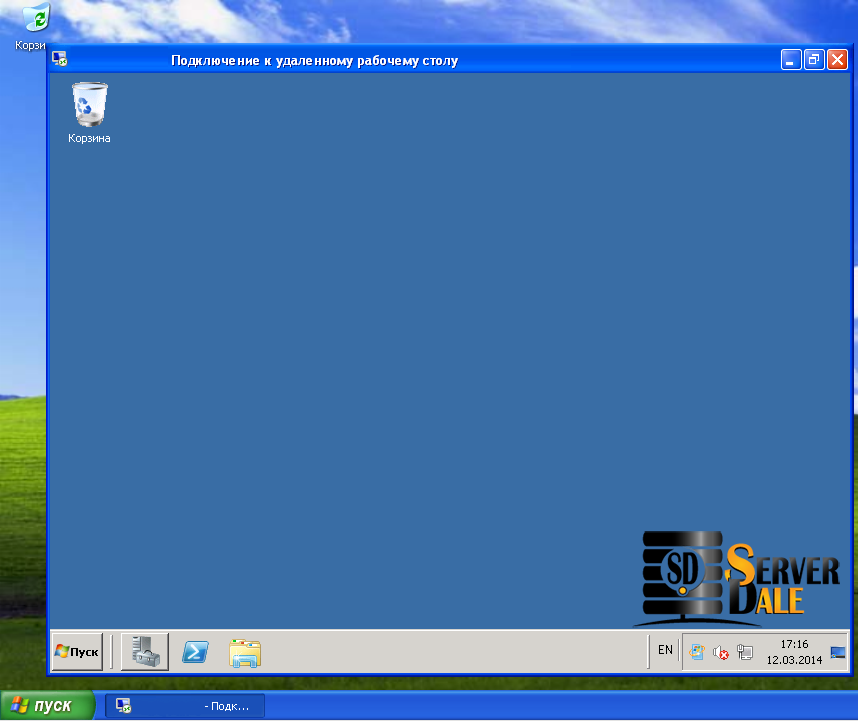
You are now connected to your server's remote desktop.
Windows 7
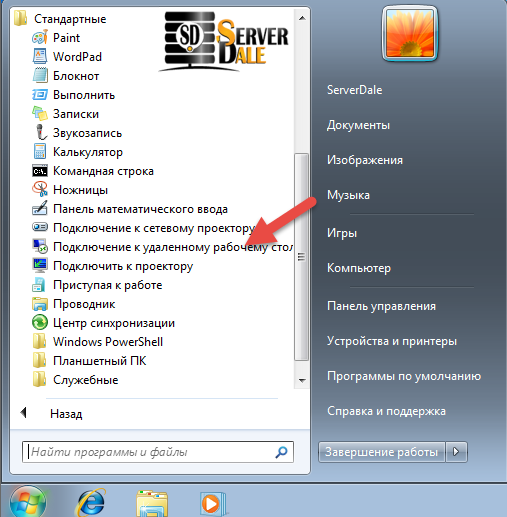
Click Start → All Programs → Accessories and select “Remote Desktop Connection”.
In the window that appears, enter the IP address of the virtual server.
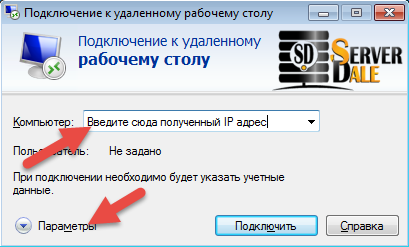
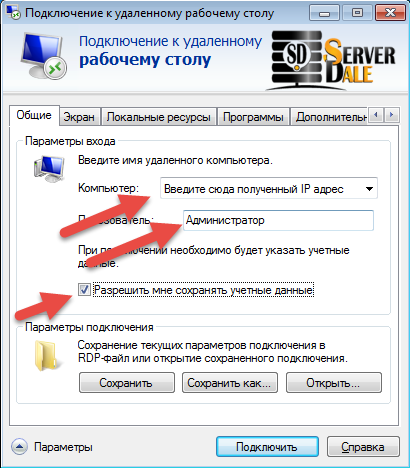
On the “Options” tab you can enable saving the credentials; enter the username from the access email in the “User name” field.
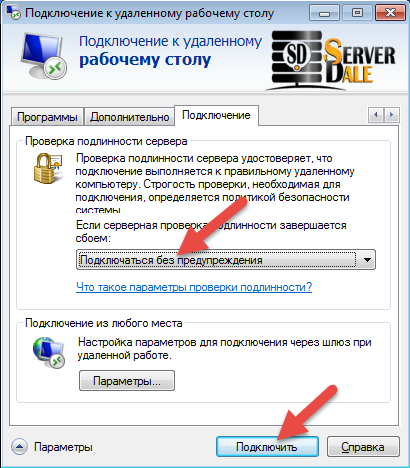
On the “Advanced” tab, under “Server authentication”, choose “Connect and don't warn me”, then click “Connect”.
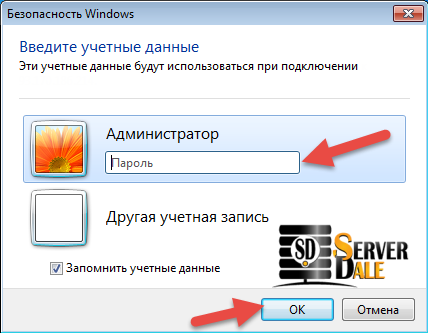
Enter your username and password and click “OK”.
Windows XP
Note. Windows XP has received no security updates since 2014 and we do not recommend connecting to production servers from it. These instructions are kept for reference.
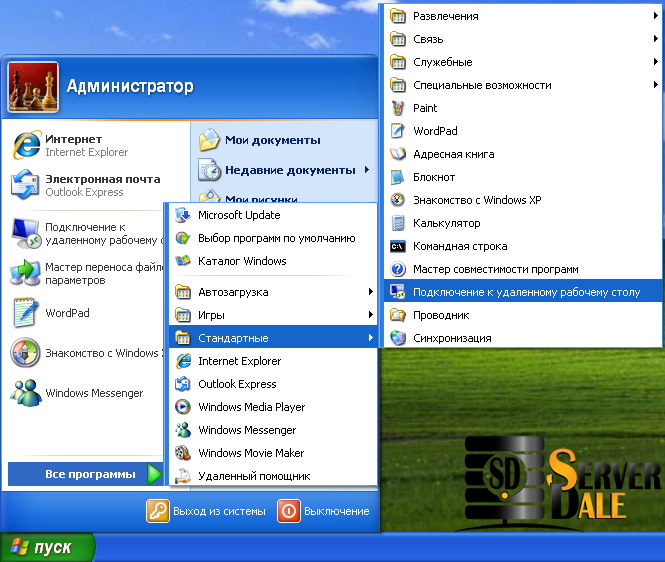
Click Start → All Programs → Accessories and select “Remote Desktop Connection”.
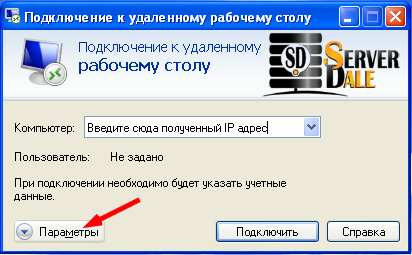
In the window that appears, enter the IP address of the virtual server.
On the “Options” tab you can enable saving the credentials; enter the username from the access email in the “User name” field.
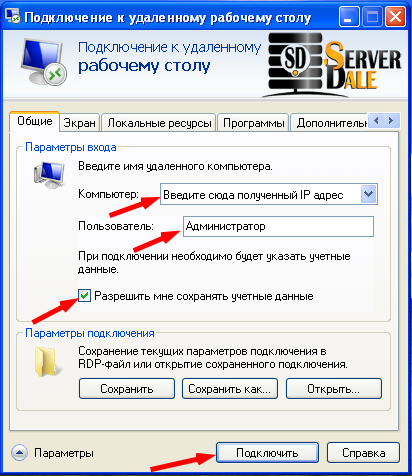
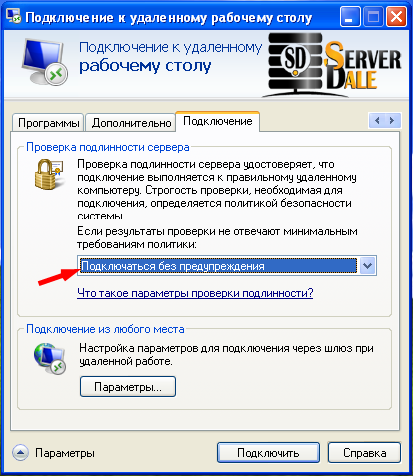
On the “Advanced” tab, under “Server authentication”, choose “Connect and don't warn me”, then click “Connect”.
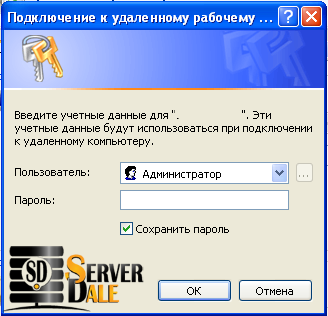
Enter your username and password and click “OK”.
If you get an authentication error while connecting, see this article.